Kissena Forum Archive

Bicycle Tech/Gear Discussion Thread

8105 comments · 108281 views
However a $250 fan is just insulting.

@Brian Miele is like the GCN guys almost heard us yesterday
https://www.youtube.com/watch?v=kBOP61tDUGE

There really is nothing "quick" about Shimano chain "quick links." Replaced my chain this evening and most of the time was spent removing the first one from the old chain and installing the second one on the new chain. I've resisted buying that specialized tool for years, but I guess I might have to get one.
it's a quick link with the tool. I don't even understand what you did without the tool. 

-- if you think about the older pinned chains, it is 100% impossible to put together without a chain tool. Quick links somehow allowed you to do it without tools, it might have been hell, but arguably better than a pin.

In any case, buy the tool, redbeard can get you one for about $15.
Even less. I got mine for $8, if memory serves. 
IF you want a tool-free link, you can buy a Wippermann one.  It works with all 11-speed chains, but is costly.  

I got the tool years ago; it means you can easily take off the chain to clean or for travel.
Get the tool. It gets an amazing amount of use, especially if you get into regular ultrasonic cleaning :)
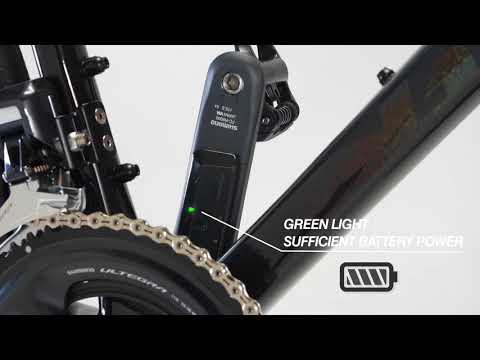
Giant's new crank dual sided power meter:
https://www.youtube.com/watch?v=RfVNaHCdTaE

https://www.youtube.com/watch?v=9P1ps3Dx-1k

Wake me when DCRainmaker does his review.
An interesting article in which they’ve compared the aerodynamic drag of water bottles. This is primarily aimed at the TT/Tri folks, who can opt for putting bottles behind the saddle (very aero) or get a giant aero bottle (also very fast), but one takeaway for us roadies is that a bottle on the seat tube tested faster than on the downtube. 

https://www.aero-coach.co.uk/aero-testing-services/aero-testing-data
An interesting article in which they’ve compared the aerodynamic drag of water bottles. This is primarily aimed at the TT/Tri folks, who can opt for putting bottles behind the saddle (very aero) or get a giant aero bottle (also very fast), but one takeaway for us roadies is that a bottle on the seat tube tested faster than on the downtube. 

https://www.aero-coach.co.uk/aero-testing-services/aero-testing-data
Nothing new here, but I love how they quantified these, and that they specially added a 30km/h metric.
PSA: Put some grease or anti-seize on your aluminium seatpost!

Couple weeks ago I felt the saddle on my Supersix was slightly low. Loosened open the clamp, tried to twist the saddle. Nada.

OK. No big deal. Some penetrating oil left overnight and we're good to go, right? Nope.

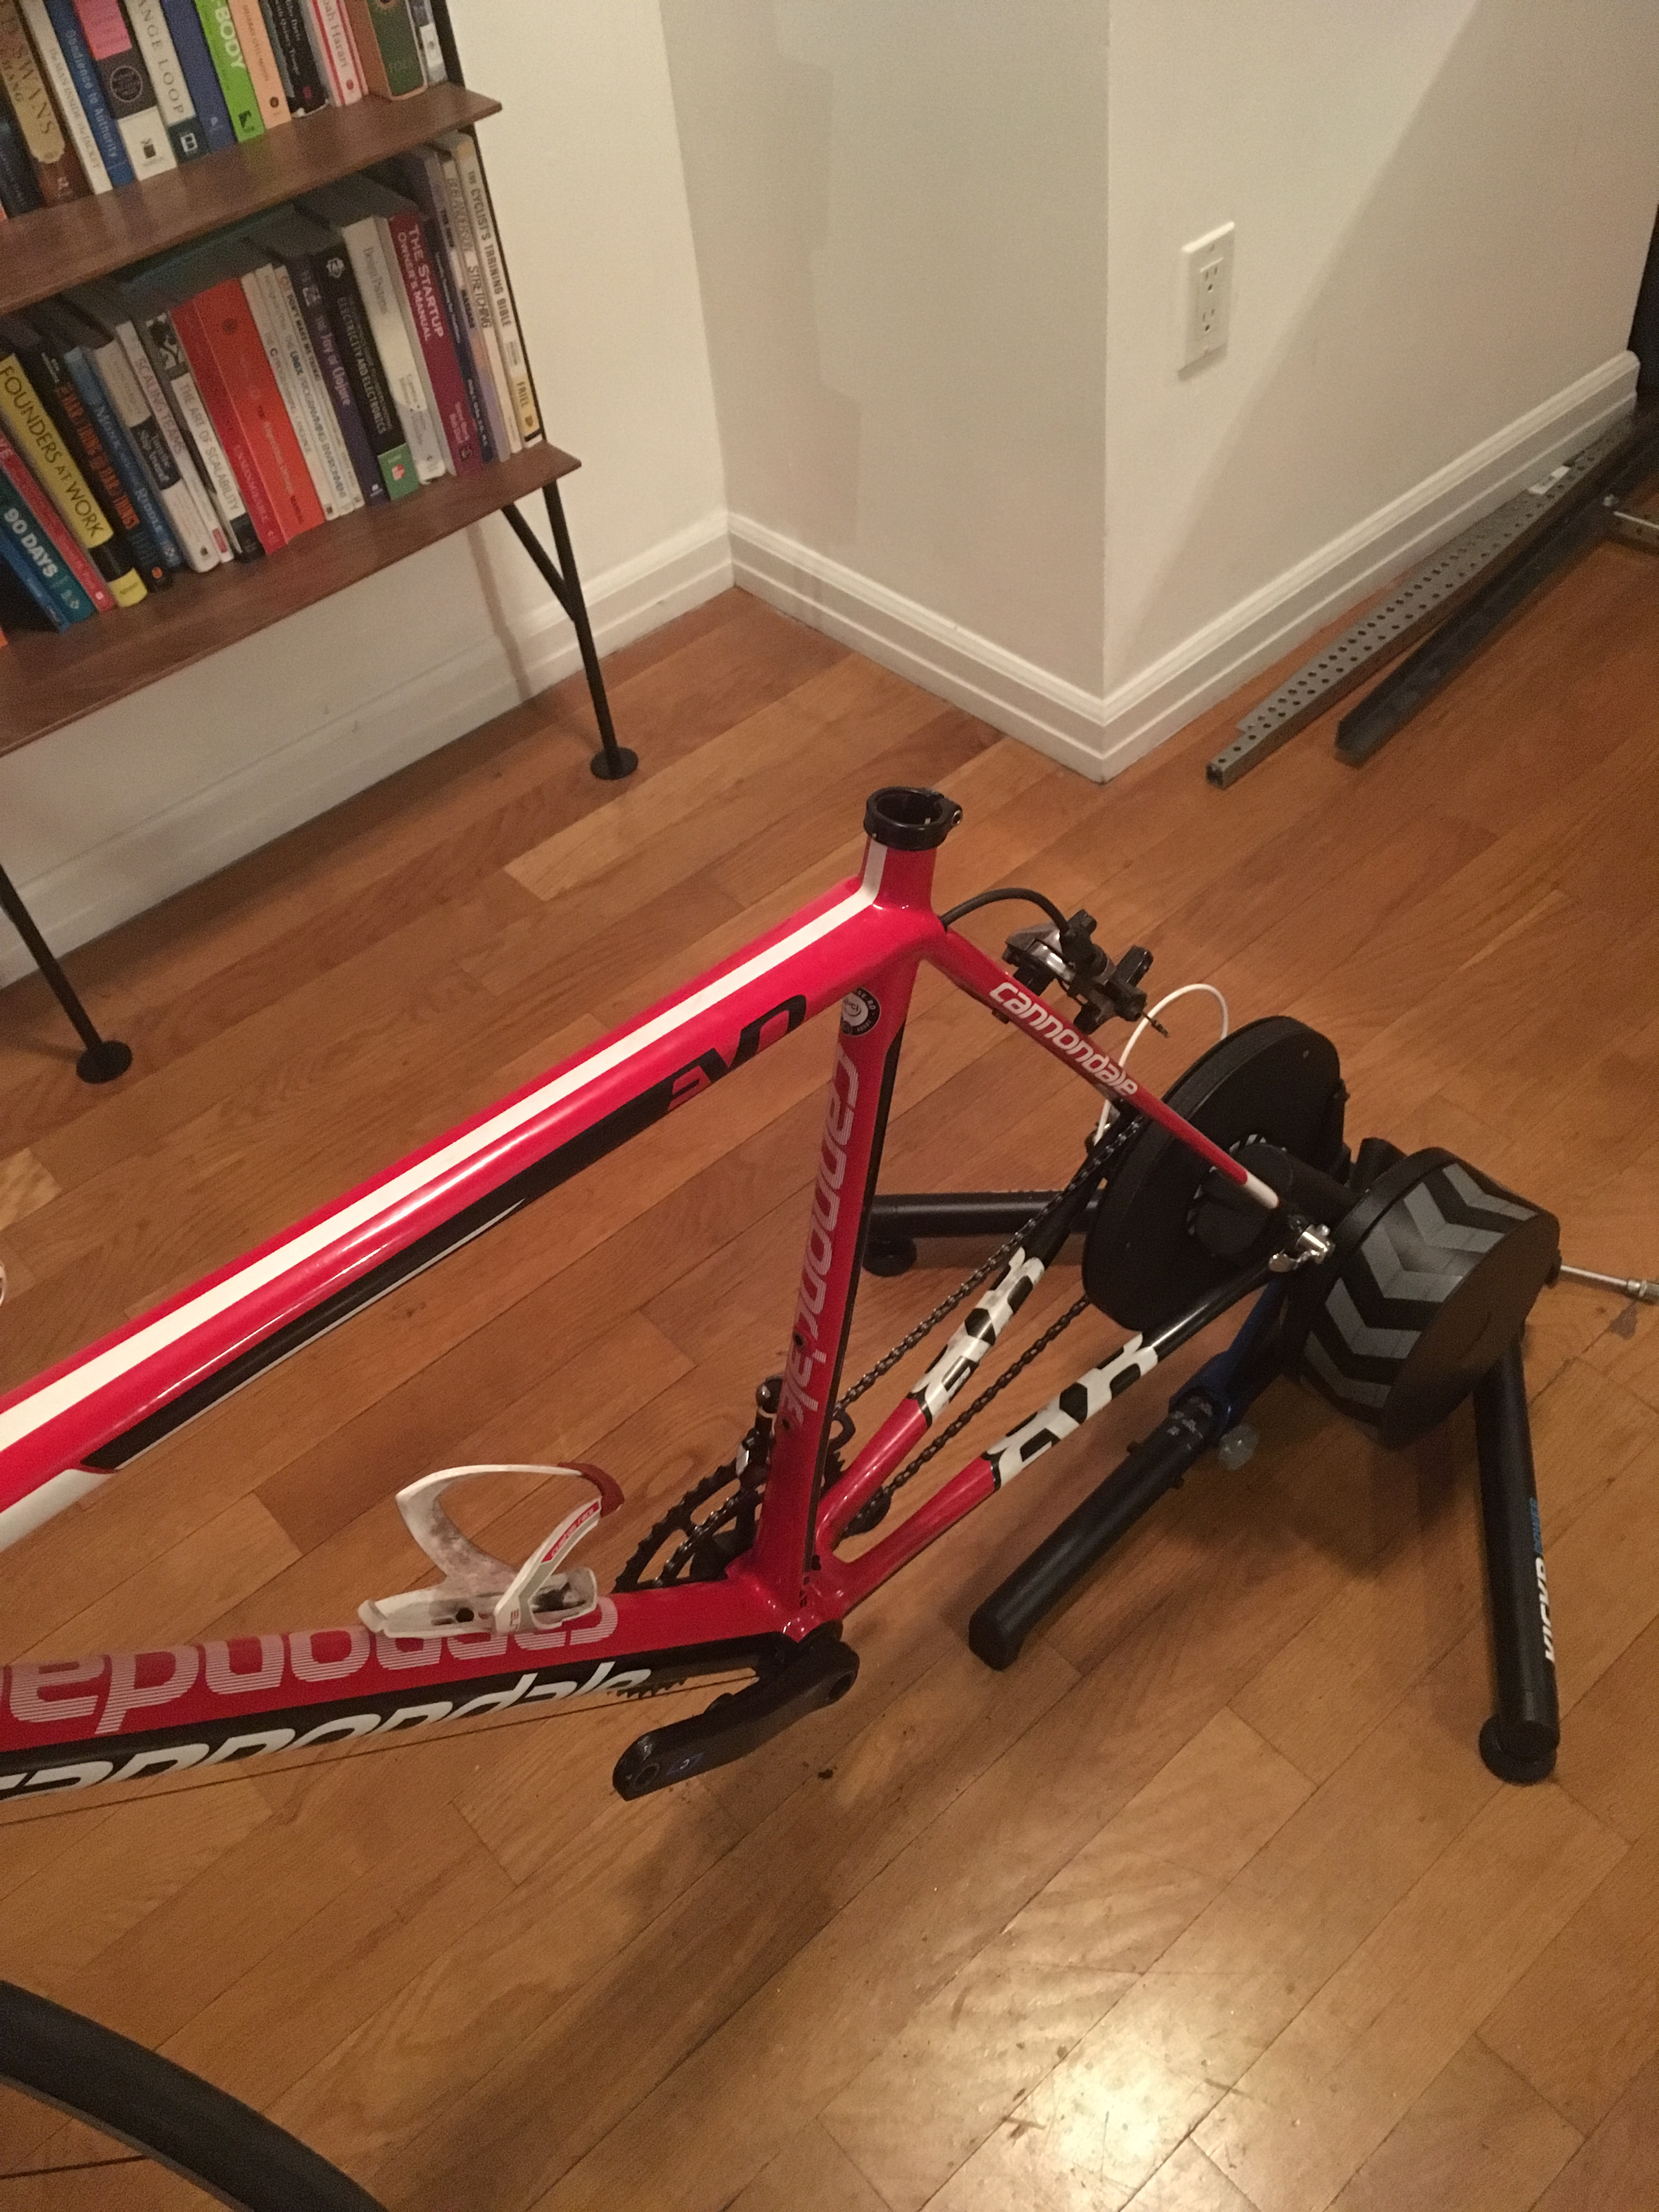
Alright. Easy enough. I just need a little more leverage. Clamped a 3-ft length of threaded rod where the saddle rails usually go. Twisted hard. Successfully bent the threaded rod, but not much else moved. Damn. This thing is *stuck*.

Time for some internet research. Learned about galvanic reactions between carbon fibre frames and aluminum seatposts. Uh-oh. Removed the bottom bracket, flipped the frame upside down, and filled the seat tube with Coca-Cola. Then ammonia. Finally, froze that sucker with some dry ice (!), clamped on a tough U-section aluminum bar, and twisted. Result: another bent bar, zero seatpost movement. Whew.

Brute force to the rescue. Rented out a 10lb slide hammer and whacked the goddamn hell out of the seatpost. Made a lot of noise, annoyed my neighbors, grew stronger biceps, but not much else.

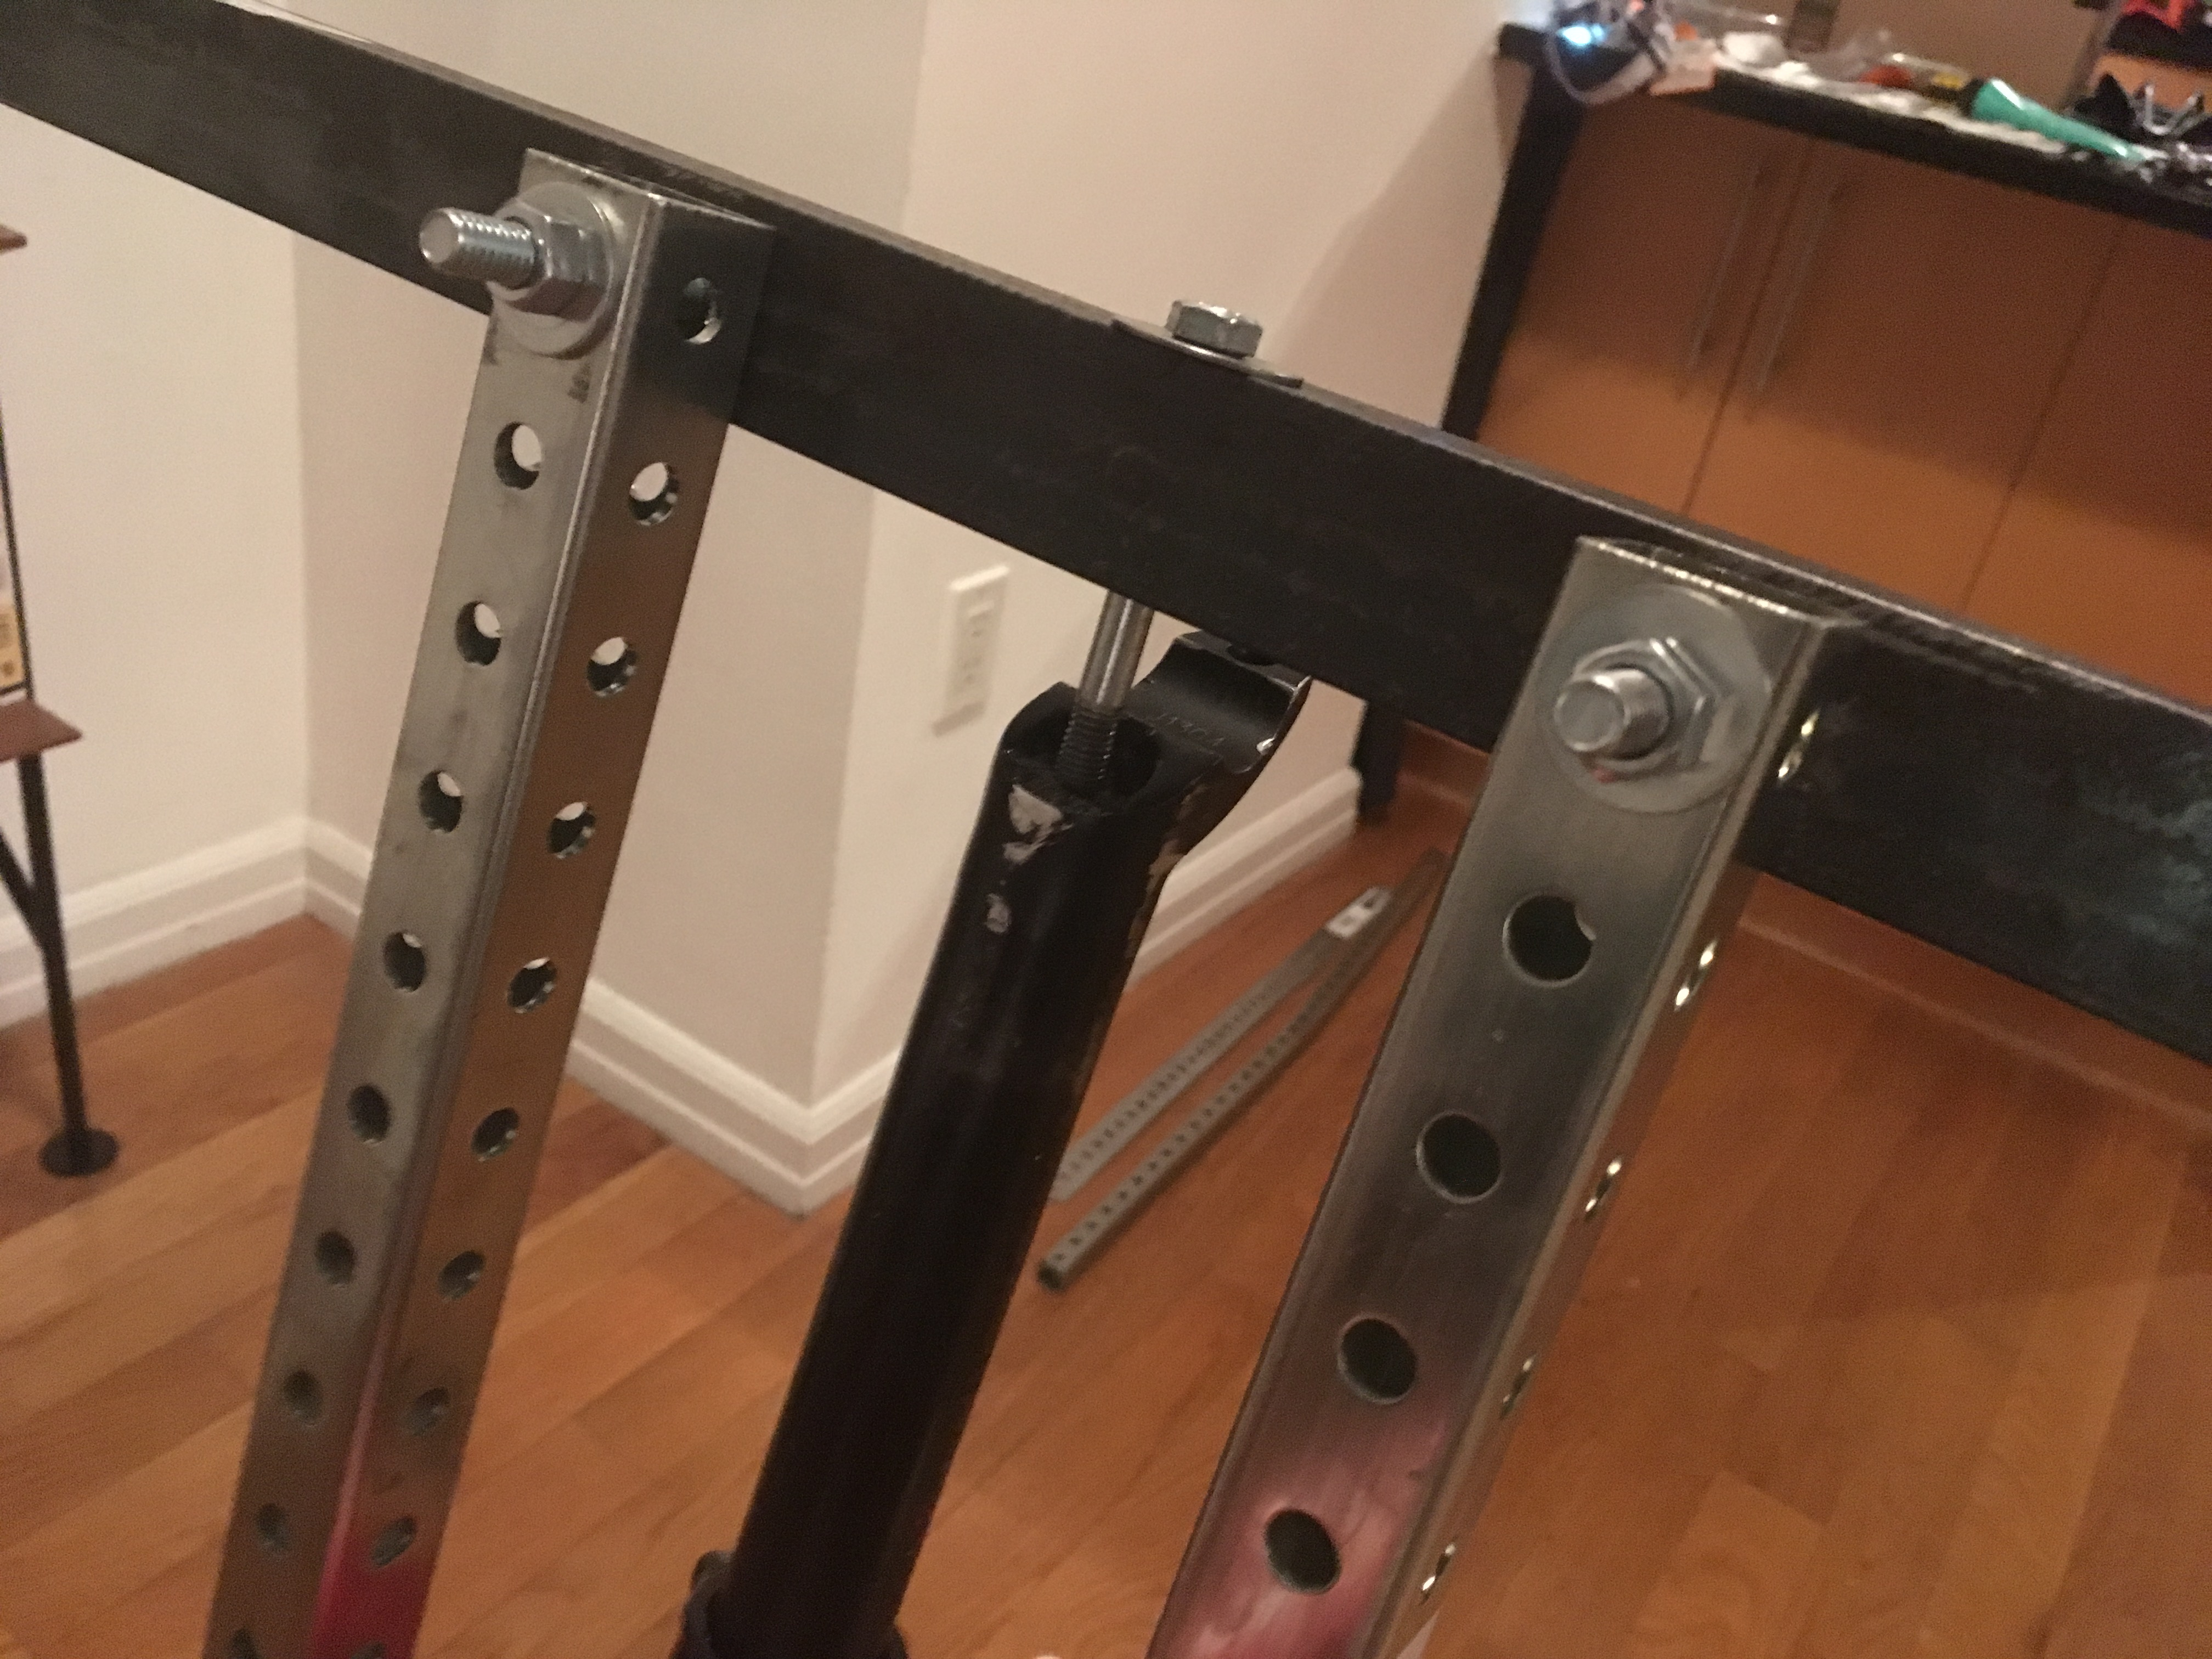
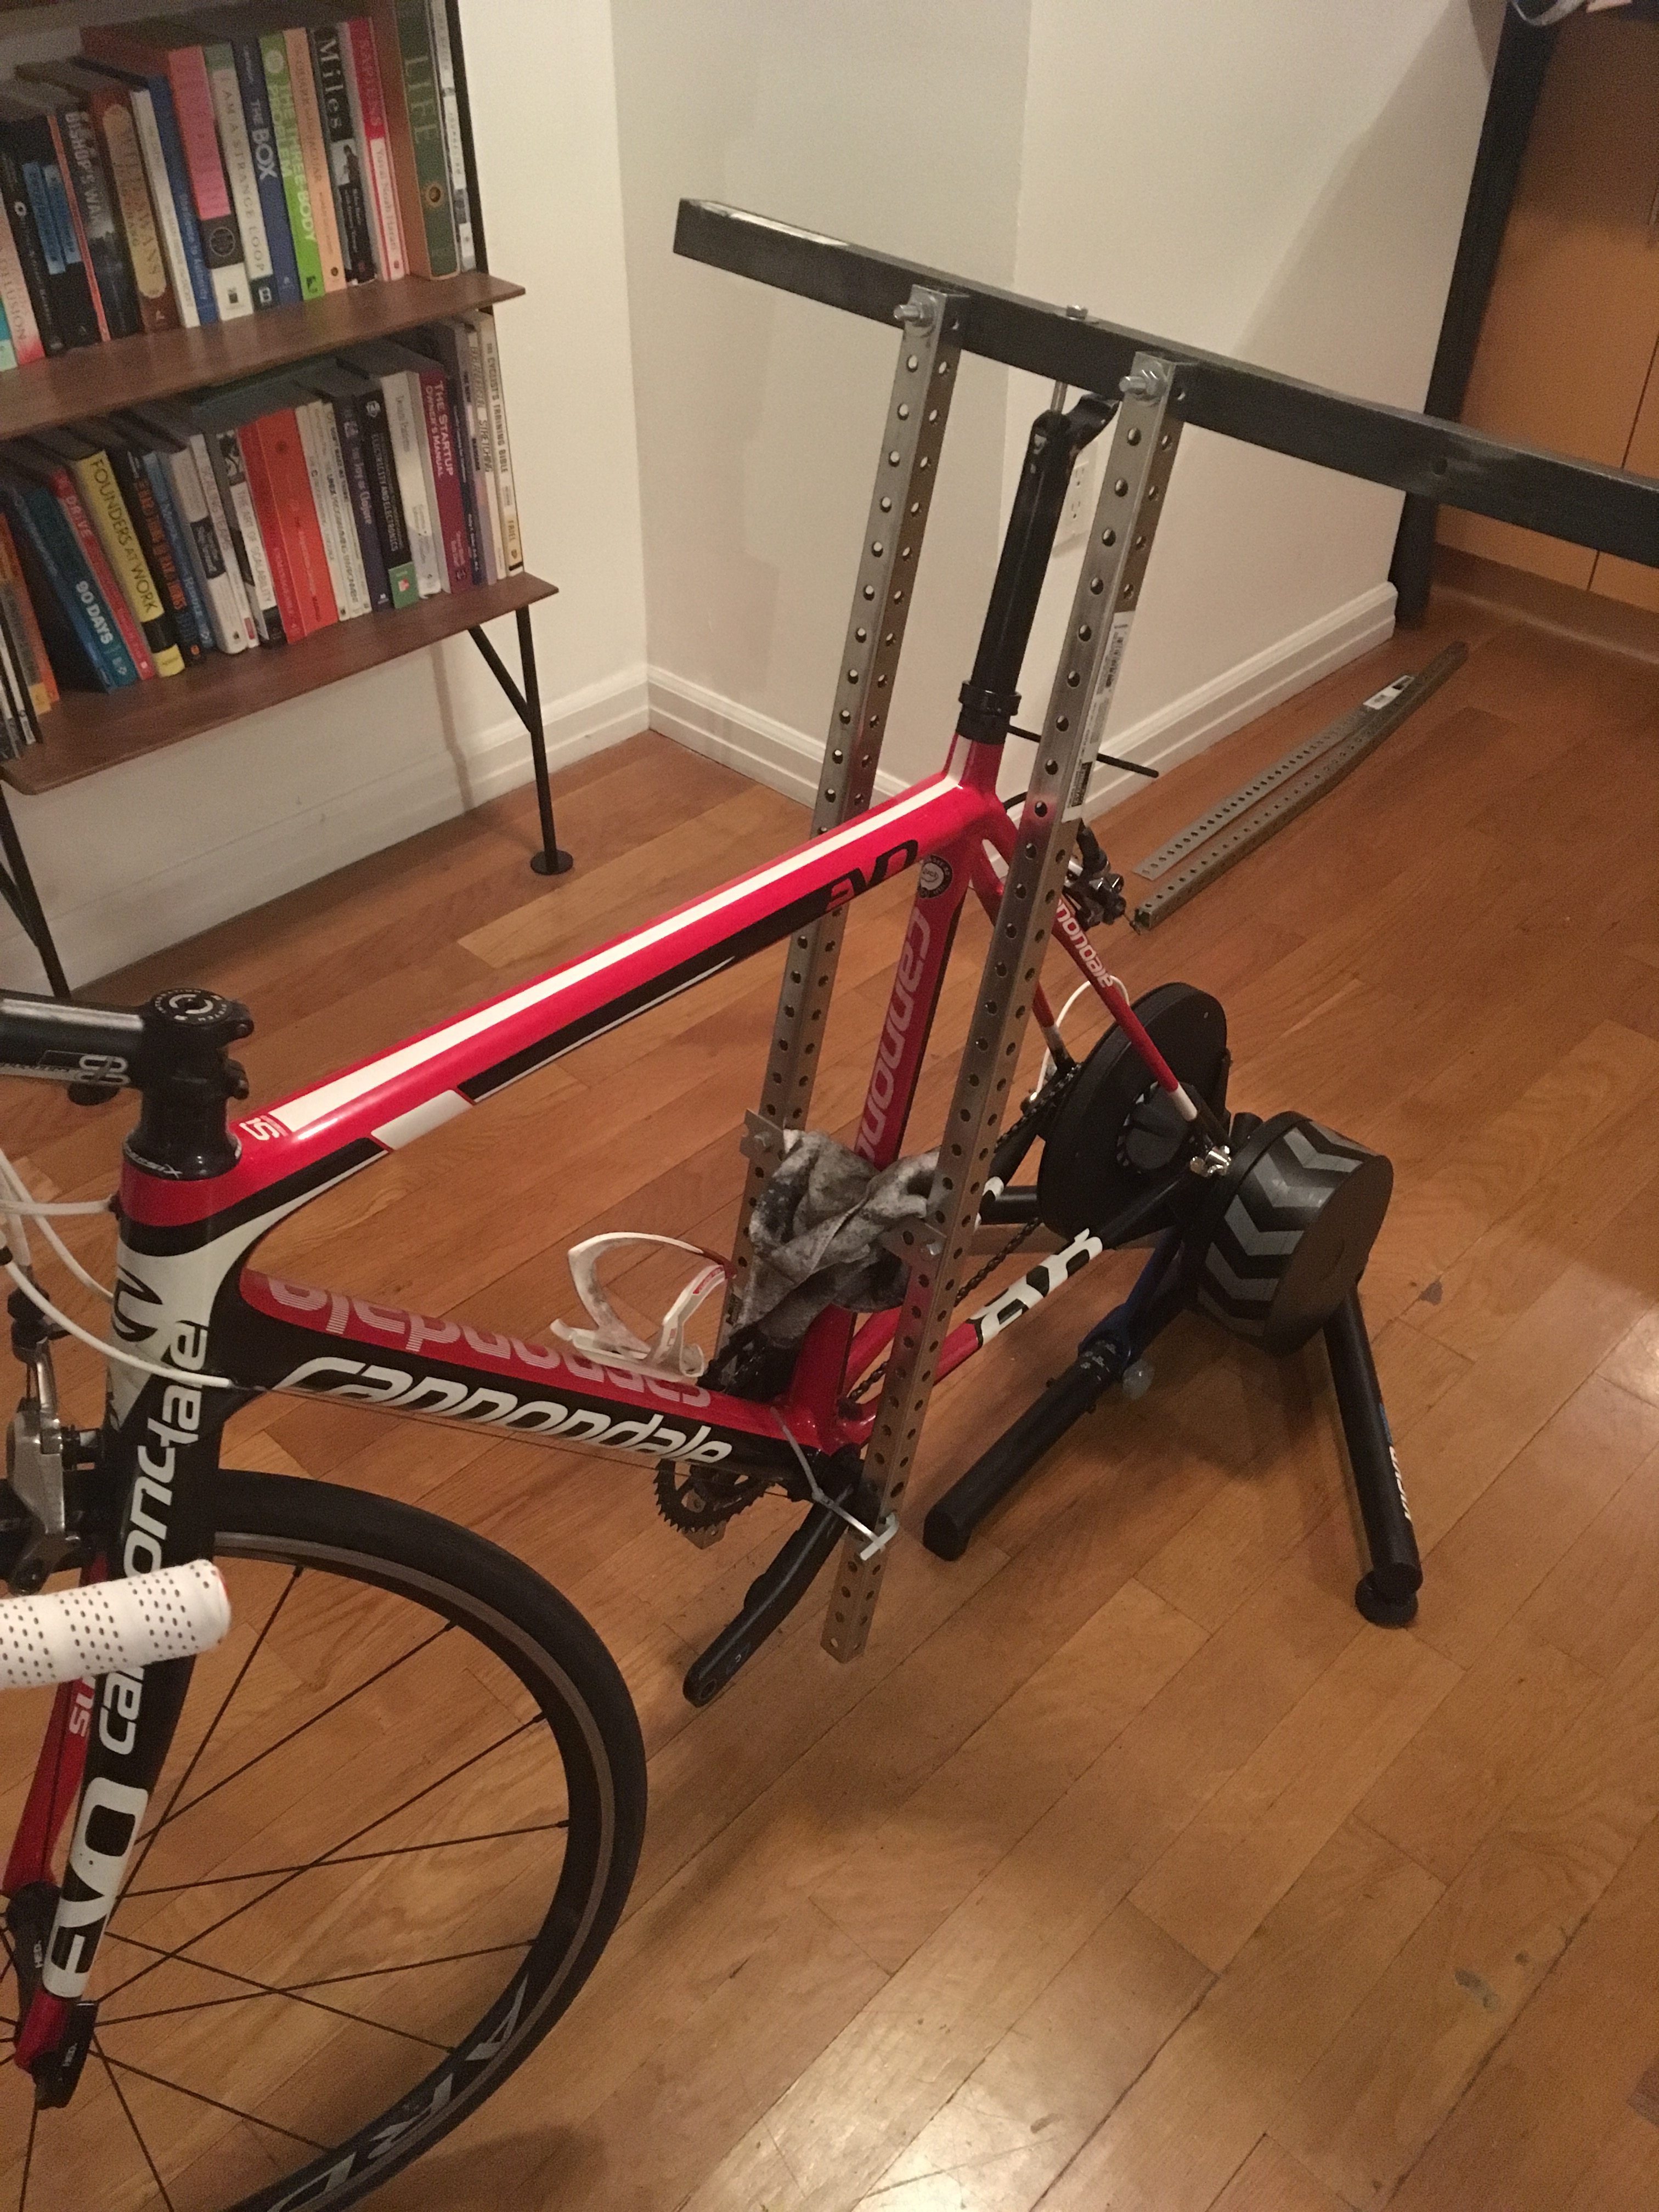
By now this had gotten personal. Man versus seatpost. Inspired by some internet videos, I took a trip to Home Depot. OK, several trips.


Wrenched this rig to within an inch of its life. The tension the whole frame and seatpost was under seemed crazy ... I figured the most likely outcome was splitting the frame in half.

Winced and kept turning the bolt. Cue a massive bang. The seatpost had moved! An entire 2mm!! Couple washers, couple more turns, another huge bang and there was light at the end of the tunnel. Result!!!


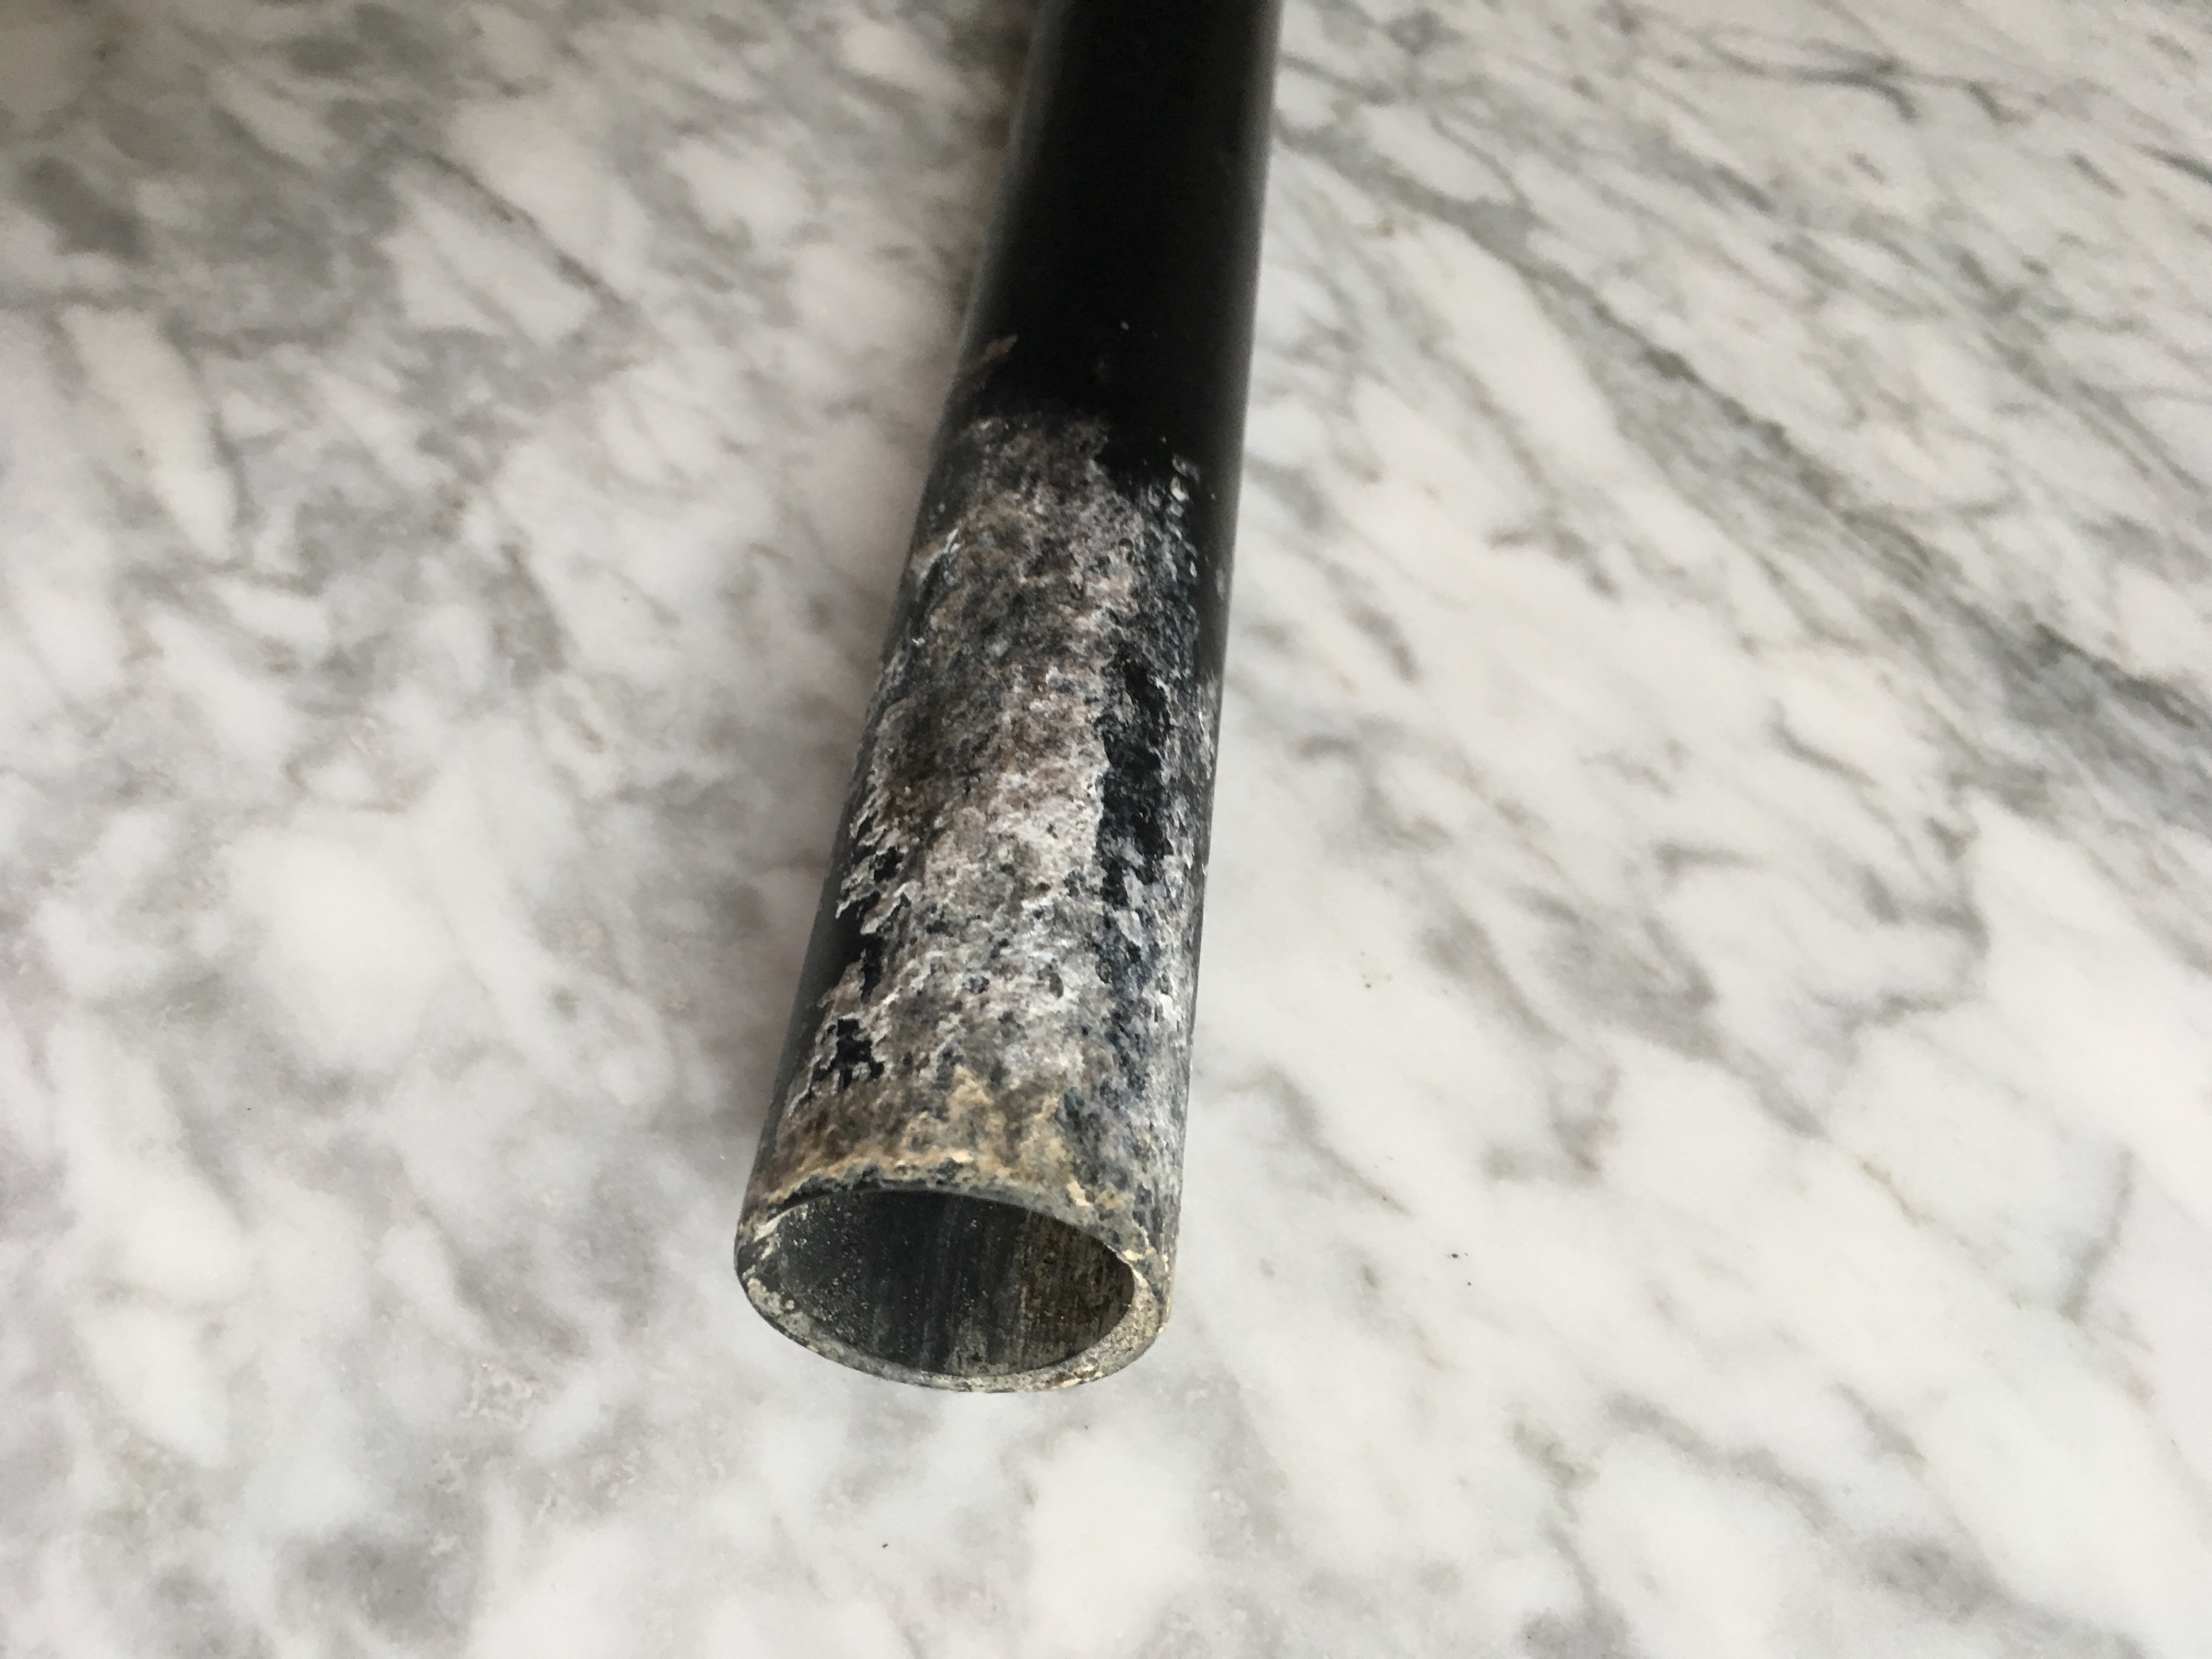
Here's the problem:


Amazingly the inside of the seat tube didn't seem damaged. 

This was a fun project, but take 15 minutes to put some grease or anti-seize on your seatpost and save yourself the hassle :)


Oh man that's hardcore. Seized seatpost videos are a thing on youtube

https://www.youtube.com/results?search_query=seized+seatpost+carbon+frame+

I lube everything - I even put a drop of dishsoap between the brakepad and the shoe because #proshowedme
so pro.

My old cannondale had the same issue. Ultimately Ilya at Redbeard had to destroy the seatpost to remove, at least I think he enjoyed it. Your rig look like crazy town ;)

I too add a tad of grease to the back of the brakepad before installing.
eloy said:
so pro.

My old cannondale had the same issue. Ultimately Ilya at Redbeard had to destroy the seatpost to remove, at least I think he enjoyed it. Your rig look like crazy town ;)

I too add a tad of grease to the back of the brakepad before installing.
Of course the story to me learning this #protip involved me shiv-ing myself in the palm with a 3mm allen key trying to dislodge a stuck on.

#thereisnolearningwithoutblood
Jules said:
Oh man that's hardcore. Seized seatpost videos are a thing on youtube

https://www.youtube.com/results?search_query=seized+seatpost+carbon+frame+

I lube everything - I even put a drop of dishsoap between the brakepad and the shoe because #proshowedme
I use a waxy chainlube, Pedros ice wax, but any waxy lube should do.  Figure it stays on the pad/shoe better than soap.
Speaking of things that are hard to do...

Got a Donelly PDX tubular to fit into one of my many unused cx wheels, and omg, just getting that thing on a clear rim to stretch was hell, easily took me 90 minutes and infinite attempts. Literally had to stretch it so it could stretch. Even checked to make sure it wasn't a 650b, and honestly considered sending it back and buying Challenge or Vittoria. I am so concerned with what will happen once I put glue on it (as glue often shrinks a tire) -- if its even a % as hard with glue as it was without glue, it will not work.

Obvs, I am planning on leaving on the stretch rim for a few days full 60psi.  

But wondering if anyone has used Donelly tubes (as opossed to Clements, which were mellow)
eloy said:

Obvs, I am planning on leaving on the stretch rim for a few days full 60psi.  


FWIW, I have at least two beaten tubular rims to give away if people want a spare rim to stretch tires on.
I've been working on writing an article explaining bike geometry for some time.

It's finally done.  Sort of.

http://jralong.com/2018/10/03/making-sense-of-bicycle-geometry/


Part 2 of my Geometry series.  

This one explains trail, which might be the most important geometry dimension to know and understand.  

http://jralong.com/2018/10/05/making-sense-of-bicycle-geometry-part-two-trail/
mugwump said:
Part 2 of my Geometry series.  

This one explains trail, which might be the most important geometry dimension to know and understand.  

http://jralong.com/2018/10/05/making-sense-of-bicycle-geometry-part-two-trail/
That was super enlightening!
Perhaps you could spend a moment and tell me what the hell the real-world difference is between ML and L for the new Giant Revolt. 

https://www.giant-bicycles.com/us/revolt-advanced-0

Adding an extra size in there seems pretty odd to me.

Smaller incremental changes for a better fit? But like you said, in the real world, nothing like a different stem/seatpost/handlebar, etc. couldn't address anyway.
Jules said:
Perhaps you could spend a moment and tell me what the hell the real-world difference is between ML and L for the new Giant Revolt. 

https://www.giant-bicycles.com/us/revolt-advanced-0

Adding an extra size in there seems pretty odd to me.

I started by looking at the chart and trying to see if there were any places where there's a steady progression through the size run.  There are two places.  Seat tube length, which progresses at 2cm per size.  And head tube length, which progresses, except for the smallest size, at 15mm per size.  The deviation is probably because the head tube on the smallest is as small as they can make.

I next looked at stack and reach.  This locates the top of the head tube in relation to the bottom bracket.  You should be able to use this by comparing what you already have in terms of stack (aka  height up from the bottom bracket), and reach (aka distance to the head tube forward of the bottom bracket) including stack spacers and stem length, to figure out if you can fit your current position on this new frame.  Here, there's no consistency.

(BTW, I've got a Stack And Reach article planned)

The ML is not halfway between the ML and the L except in terms of seat tube length and head tube length.  In terms of fit, they don't size up evenly.

The ML size is one several manufacturers use.  I think the naming convention has to do with manufacturers pegging M, ML, and L, as the meat of the people they need to fit, so that these people can have choices.  But when you look at the stack and reach numbers, there is no even progression through the line, even here.  They could just rename ML L, but then people who don't think they're "large" worthy might not go for it.  Or come up with another naming convention.

My guess is they settled on increasing seat tube length and head tube length as their base assumptions and figured out the sizing from there.

What you should do is get the numbers from your Van Dessel cross bike and try to figure out how that sizing compares to the Giant.  The trail is probably longer, so, assuming you can fit both without too many stack spacers under the stem (most steerers can handle 40mm of stack, but give yourself a little margin of error and shoot for no more than 30mm of spacers) and have a reasonable stem length, do you want to 'speed' up the handling with a shorter stem or slow it down with a longer stem?

I should add that to better figure out fit issues with potential new frames, I have printed out the geometry of my main bike, my Cannondale, and have it taped to my monitor.  That way, I can quickly flick from a geometry chart like that of the Giant to what I'm riding and back.  

Looking at the Revolt, I don't know what size I'd take.  In terms of reach, I'd want the L, but the stack is way too high for me.  Even with a -17 stem, I think the bars would be higher than I want.

I should also add that there is already a split going on in the Gravel Bike realm.  There are the racing frames and the bike packing bike packing frames.  For me, this leans toward the bike packing in terms of stack and trail.  
Thanks JP, all very useful.
Anyone ever heard of the Interloc Impala road bike frame made from Reynolds 853?

I've got my eye on what looks to be a sweet deal for one, but have never heard of the brand. In my research, it looks to be a pretty basic bike (which is fine... looking to build up a commuter), but some of the reviews I've read from owners describe it as a remarkably good bike for what it is.
Big fan of Reynolds tubing. 853 is sweet, close to titanium in strength to weight. 
Continuing my writing on bike geometry, I did an article explaining how component choice can effect how a bike rides.

http://jralong.com/2018/10/12/making-sense-of-bicycle-geometry-part-3-how-components-can-modify-ride/

wheels, tires, bars, stem, even stack spacers can make a difference you can feel.
Fascinating, again Wump.

small typo “was at Orbea in the 2110’s”
Consider upgrading my stock wheelset to SLR-1 55mm aero carbon road wheels. Any thoughts? Primary consideration is cost.

https://www.giant-bicycles.com/us/slr-1-55mm-aero-carbon-road-wheels