Kissena Forum Archive

Bicycle Tech/Gear Discussion Thread

8105 comments · 108281 views
I know there's a couple of you who were looking for longer reach, aero-shaped bars not too long ago.  While not carbon, these look to fit the bill and at ~$100 are pretty affordable.

 https://www.pro-bikegear.com/uk/road/handlebars/vibe-aero-alloy-pursuit-handlebar

Big fan of the Vittoria corsa/ corsa control (a bit more puncture protection on this one) with the gum sidewall. Fast and reliable tire and probably the easiest tire I’ve ever put on
@GregHoge Vittoria Corsas are currently on sale for $39.99 here: 

https://bikecloset.com/product/vittoria-corsa-g2-0-folding-700c/?attribute_sidewall-color=Gumwall&attribute_size=28&gclid=CjwKCAjwsMGYBhAEEiwAGUXJaf-MgoTDMDZB_0fZ9PJ9cZ-g-Ga4XyRJTWu1fc7MYj-zQ2SBs_iC2RoCSeEQAvD_BwE
Shoot!  I already got a set at like twice the price; might pick some up for spares though. Good spot!
Wooow good find @JoaoPereiraWebber! Don’t need a new set right away but got a set for next season
Big fan of the Vittoria corsa/ corsa control (a bit more puncture protection on this one) with the gum sidewall. Fast and reliable tire and probably the easiest tire I’ve ever put on
@GregHoge Vittoria Corsas are currently on sale for $39.99 here: 

https://bikecloset.com/product/vittoria-corsa-g2-0-folding-700c/?attribute_sidewall-color=Gumwall&attribute_size=28&gclid=CjwKCAjwsMGYBhAEEiwAGUXJaf-MgoTDMDZB_0fZ9PJ9cZ-g-Ga4XyRJTWu1fc7MYj-zQ2SBs_iC2RoCSeEQAvD_BwE
5 cents: I love the look and plush ride of these Vittorias but I wouldn’t recommend. Creamy 5000s eat them for breakfast in terms of performance, puncture resistance and longevity. 
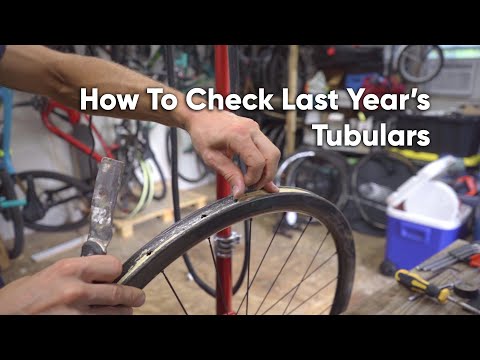
The video we didn't know we needed:
https://www.youtube.com/watch?v=A9e4n5HX6uc
As I prepared to race on Bubblecross Sunday, the night before discovered that somehow a nipple broke on my perfectly glued cx tubular wheel.

The wheel is perfectly true, but the only way to fix it is to pull the tire off (ugh) --

Over the past few seasons, I've discovered that I honestly enjoy gluing tubulars, but omg, I hate cleaning up the rim and/or tire to re-glue.

Vittoria's CX tubulars appear impossible to find, so either I clean and re-glue the current tire, or pull the second tire and put on a brand new set, or live with different tires front and back (impossible for my OCD)
I actually installed new Donnelly tubeless tires this weekend , its crazy how narrow a 33mm tire feels these days 
GregHoge said:
mugwump said:
GregHoge said:
@mugwump I've got a printer.  If you'll be out riding on Sunday I should be able to get them printed before then.
Awesome!  Thanks.  I love it.

What's your take on the flexibility of the material as suggested above by Jules?  If you have a printer, you must be playing with it a good bit.
There's many different kinds of filaments you can print with, including some that are combined with carbon fiber and wood.  But a lot of a 3d printed part's performance depends on part design, how the part is positioned on the printer, and the printer settings.  For a part like this (a dust cap), the snaps only need to work once - for installation (at least that's my understanding).  A standard PLA filament will work.  If it was a piece that needed to be repeatedly snapped in and out, then you'd want a material that's a bit more robust, like nylon.

Anyway, I've got the dust caps printed up.  I'll bring them with me tomorrow if you'll be out riding.
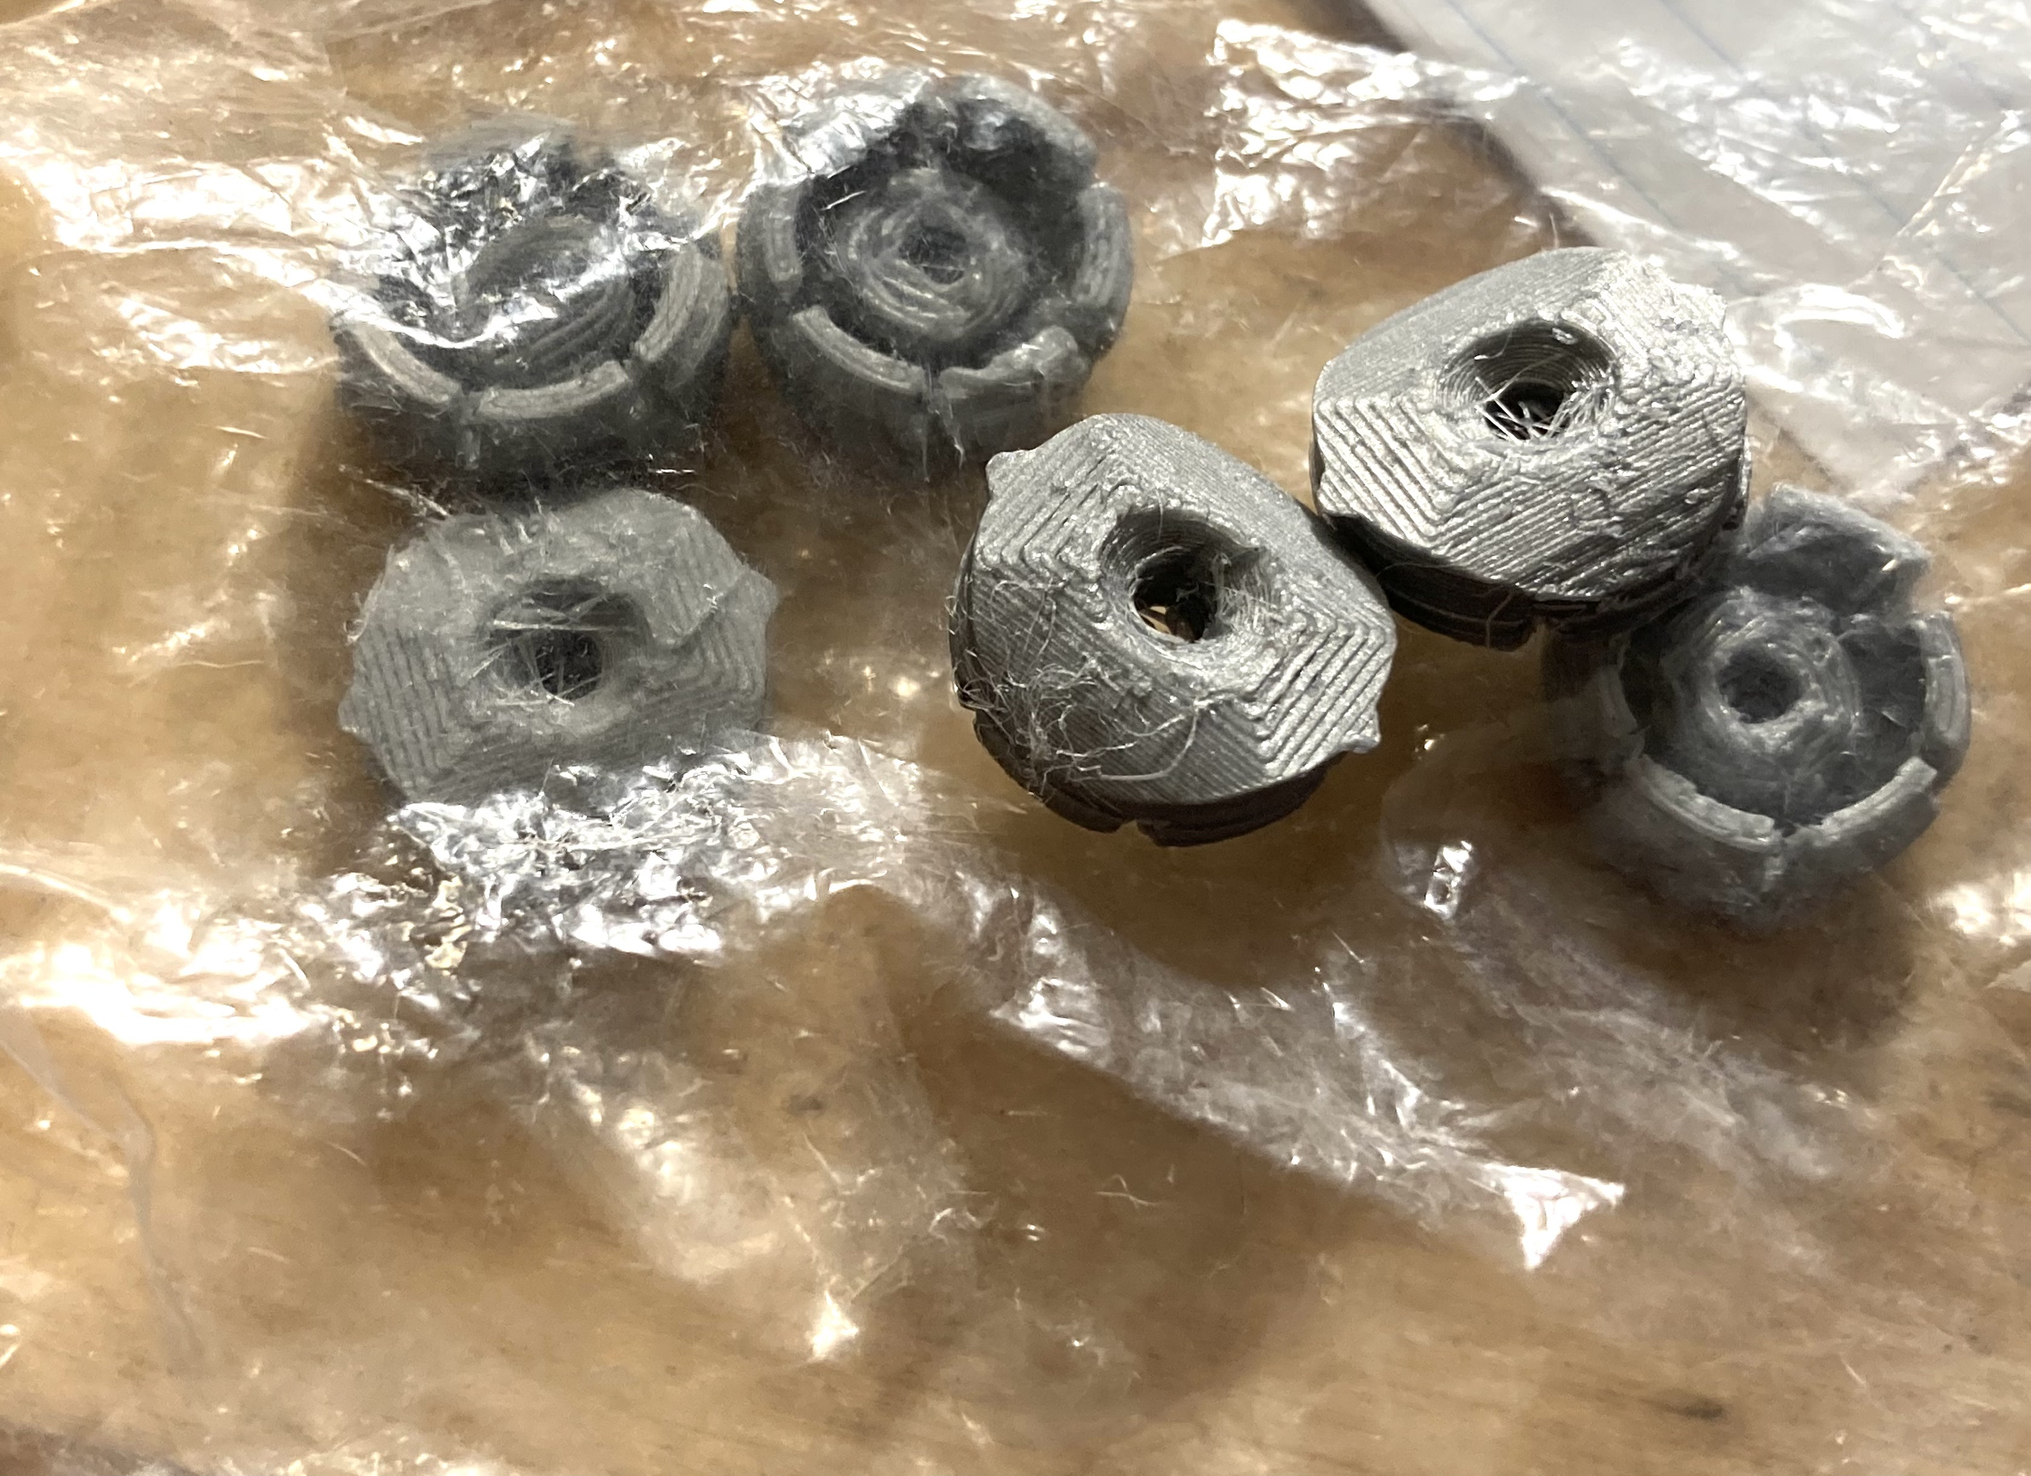
Greg handed off the 3D-printed caps to me yesterday.  Kind of looks like a lifetime supply.  For those who aren't familiar with Speedplay, the only reason you'd take off the dust cap would be to either replace the axle or the bearings as the design pushes grease through the pedal from outside the outer bearings into and through the inside bearings.  When the grease coming out of the other side of the pedal is clean, you're done with greasing.

I"m happy to report they fit.  They might even be a tighter fit with less room for grease, both of which might be a good thing.  Now I just have to source the set screws that fit into the grease port.

Thanks so much Greg.


Tubeless conversion!

So, I'm finally getting around to converting my tubeless-compatible rims to tubeless.  Velocity Quill rims, 24mm tape (recommended with from Velocity), MucOff valves (red, faster, obvs), and Zipp Tangente RT25 tires.

Used a CO2 to inflate.  I could hear air escaping.  Assumed it was the valve.  Switched gaskets.  The bigger gasket didn't work at all.  I wrote MucOff.  They said to go with the thin gasket (after looking at the rim cross-section) and grease the gaskets, including the one on the outside of the rim.  

That didn't seem right, so I reached out to Park Tool.  They said greasing the gasket, particularly on the outside of the rim was a bad idea.  They suggested it was a taping issue.  

I used another CO2, dunked the rim and tire under water.  There were two spots where air was leaking out.  So I re-taped.

I then used another CO2 to inflate. I could hear escaping again.  So again I dunked the tire and rim.  It was only escaping at one spot, by the valve, on the tire, rim juncture.  

I reached out to Zipp.  They said to try again with sealant in the tire.

I'm ready to try that, but first I need to get the tire seated.  ON the good, I can install the tire by hand.  I went to two bike shops to see if their air compressors could push in enough air fast enough to seat the tire.  The answer is no.  I've got a few more CO2's to do the job, but I'm wondering what other people do to seat the tire.

advice, bros?
Ok so let's break this down.

TLDR: Do exactly the same you did, but after the CO2, deflate the tire, remove the valve core, and add sealant via the valve. 

Longer version in steps:
  • Mount the tire
  • Pop it and seat the tire in place with CO2 -- you should hear satisfying pops
  • Immediately after you might hear all the places air is escaping, wont be too many, but whatever, air, like a badger, wont care
  • Deflate -- make sure you keep the tire seated
  • Remove valve core
  • Add sealant thru valve stem (20 to 40 ml Orange Seal Eloy Recommended)
  • Re-Add valve core
  • Inflate tire with a normal pump
  • You will still hear air escaping, move the wheel around so sealant moves and finds its way inside the tire and does it job
  • Inflate to desire pressure
  • Go for a quick ride around the block, I have found that a quick actual spin helps sealant find all the spots that it needs to seal
  • Plan to repeat some of this the next morning (if it deflates overnight, it needs a more sealant)
  • Sometimes sealant can get in the valve and core, the next morning, often, I deflate, remove core, use a pick to clean up, put core back and inflate and then is good to go for months
While sometimes a tire will hold air perfectly without sealant, that almost never happens. Sealant is needed to, well, seal it all.

Oh, also, do not do any of this anywhere near anything your family cares about, the method above is super clean, but sealant will likely drip anyway.

Hope this helps & good luck.
@eloy

I think I'll add the sealant to the tire/rim in the bathtub, then bring in a truing stand and spin it so if latex matter comes out it will hit tile.
If your family cares about the bathtub, do not do it in the bathtub. Unless, of course, you want to seal the drain, for example...  ;)

jk jk
It worked.  Spun the wheel in the tub a bit, the gaps seemed to seal.  Seems to be pretty close to full pressure this morning.

thanks.
I basically do what Eloy does, but found that I don't need to explode the wheel onto the rim with CO2. Instead I just pump it up to about 90-100 PSI (I'm on hooked rims so the fear of the tire exploding off the rim is minimal), get my satisfying pops and bangs and go about with the conversion. I forgot which YouTuber I saw do it this way (may GP Llama?) but so far no issues with it.

In addition to spinning the wheel once the sealant is in, I like to hold it flat (like if you were mounting the tire), tilting it so the sealant pools on one end of the wheel, just shaking it up and down and working my way around the tire like this. Again, saw it from a reputable YouTuber and I can't speak to how much of a difference it makes to just spinning it, but I've yet to have an issue of the tire not holding air

I don't need to explode the wheel onto the rim with CO2

Some tires need some fast high pressure motivator to get hooked or pop into where they need.

A couple of tips ,
1) Using a floor pump ,Remove the valve core , seat the tire before the sealant goes in this allows air to get in faster , and you don't need to sacrifice the CO2 , then install sealant.
2) My last resort is inserting an inner tube , inflating the tire till you get the snap ,then letting out air slowly before using a tire lever to remove one side of the tire ,put in the valve and try again

General rule , if the tire goes on easy ( MTB being the exception) the seating is hard 
This makes lots of sense.  If the fit isn't tight in the deep channel of the rim, it probably means that air will easily seep around the tire walls.
Anyone have good recommendations for tight fitting, grippy, winter gloves for 40-50 degree days?
I think this is more of a Kit Connoisseur question.  

but I'll answer it here.

For this temperature range, I like gloves that have some sort of soft shell-type insulated back with some sort of ultra suede-type palm.  No insulation on the palm side.  

I seem to have a yen for Pearl Izumi long-finger gloves. It might be because I seem to be able to find them cheaply, or it could be that I know I fit their XXL gloves, or both.  

I like this glove for the range you're looking at.

https://www.pearlizumi.com/products/cyclone-gel-glove-14142009?variant=40647687045291

This might be the Specialized versions

https://www.specialized.com/us/en/mens-neoshell-thermal-gloves/p/187312?color=299802-187312
https://www.specialized.com/us/en/mens-hyprviz-neoshell-thermal-gloves/p/187313?color=300083-187313

nyone have good recommendations for tight fitting, grippy, winter gloves for 40-50 degree days?
Looks like they may have updated these , but i have a pair in blue, and they are amazing,  

https://maap.cc/products/base-glove-black
@mugwump I knew something felt off about posting it here lol
I’ve been riding 25mm tires for my entire “racing career” and was considering going bigger and wanted to get any opinions on if I should and if so how big? I have a track bike I ride at Kissena and a road bike I use for park races and crits.
Also wanted to chime in and say that I ran tubeless this season on a continental GP5000, 25mm, and it was a great experience. No flats, no problems. I paid my LBS to set it up cause I didn’t trust myself not to make a mess. 
For racing in NYC 25s is likely where is at. But feel free to try 28s on the road.
 i used 28s all season (PP and FBF), won't be going back to 25s
It depends.

The issues are: rolling resistance, weight, aerodynamics, comfort, rim width, and whether or not the tire/rim combo will fit in your frame.

Rolling resistance probably goes down a bit, provided you also drop your tire pressure.  But the added weight can be a slight liability in some circumstances.  

Aerodynamics plays a part, too.  The narrower the rim, the more the aero penalty will be--if you've got older 15-19mm wide rims, there will be a heftier aero penalty, than if your rocking 22mm or wider rims.  Probably something like 24mm wide internals mates best with 28mm tires.  (there are studies on this)

Comfort might be important to you, and the benefit of the cush could outweigh the aero and weight penalty.  

Finally, there's fit.  If you've got a new rotor-disc frame, there's surely room for 28mm tires. But, depending on your rims and frame and tire, 28mm could be pushing the limits of what fits between the brake calipers and the fork and stays.  

I have rims with 21-22mm internal width.  Conti's GP4000 and 5000 25mm tires grow to almost 28mm on the rims after a few days.  As a result of that, I'm not certain 28mm Conti's will fit with my frame/rim combo, though the bike is supposed to fit a generic 28mm tire.  
I used a combo of 25s for most of this season and switched to 28s a few months ago when I switched to my new bike.  I didn't really notice any speed difference, but the 28s (when set to the appropriate pressure) were definitely a smoother ride.  They also helped a lot with the cracks and holes of FBF.

In terms of aerodynamics with respect to tire width, follow the rule of 105% - the outer rim width should be 1.05x the MEASURED tire width (not the advertised width).  This provides the smoothest airflow transition from the tire to the rim.

IMO comfort can't be overstated enough.  If you're uncomfortable on the bike, it'll be harder to keep up in a race.  Plus, you'll be less motivated to train.  It's a vicious cycle.  Wider is better for this.

If you go larger, you'll need to drop your pressure to compensate.  The Silca pressure calculator is good for that - https://silca.cc/pages/sppc-form.  I usually set the road to "worn pavement/some cracks".


GregHoge said:

In terms of aerodynamics with respect to tire width, follow the rule of 105% - the outer rim width should be 1.05x the MEASURED tire width (not the advertised width).  This provides the smoothest airflow transition from the tire to the rim.


Damnit!  I just checked the tire/rim combo on my daily driver.  It's at 1.08%!  No wonder I'm not going fast enough for something.  

I should add that if that's the case, then for my current daily rims, the optimal aero tire is the 23mm Conti' 4000/5000 tubed.  It's about .1mm narrower than the Zipp Tangente 25mm tubeless tire.    
This is sorta a tweener post, not sure if this is the right topic.  I used the insurance $ to replace my stolen Santa Cruz Stigmata on this Bearclaw https://www.instagram.com/reel/CjAvB0MuY_3/ (my actual bike).  Weight is about 20 lbs, 650b wheels with high volime 55m tires for the moment.  Even with big tires, this bike weighs less than my other bike with 700c wheels with 38m tires.  But when i ride the Bearclaw, sustaining 22 mph solo for anything over 4 miles drives my heart rate up between 175-195, while same thing on the heavier bike is in the 150s.  Only thing I can think is that I built up the Bearclaw using a 40T chainring because its a 1x drivetrain and I gotta some steep hills coming up in this gravel event I'm doing next weekend.  Heavier bike has a 46T chainring. 

I don't think its my HR monitor because other activities are measuring the same. 
Could possibly be a difference in position between the two bikes too. Changes in position can drastically effect aerodynamics or you could be in a position that you're not able to fully open your lungs without realizing it and that bit less of oxygen is causing your heart rate to spike up